Gno Love
by: Eron Steger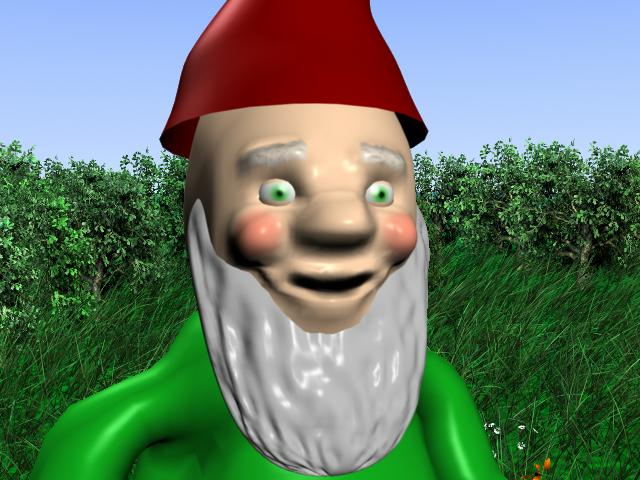
Click here to see the animation (16MB). If you cannot play it, try installing the latest version of the DivX codec.
If you have a slow Internet connection, click here to download a smaller version (2MB).
Storyboard
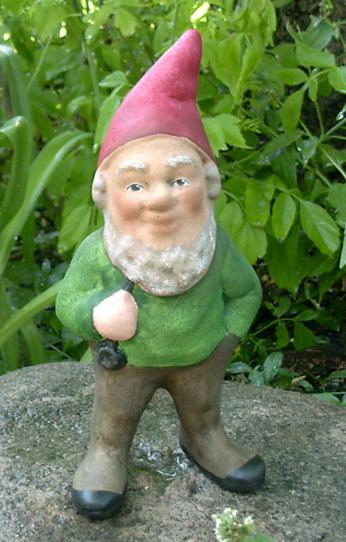
To start, I needed to come up with a story for my animation. My original plan involved the idea of gnomes going on 'vacation', but that would have turned out to be too complex for this assignment. Instead, the story I settled on involves a gnome coming alive and falling in love with a beautiful but inanimate female garden gnome, only to have his dreams crumble before him.To determine how my animation would be setup, I created the following storyboard:
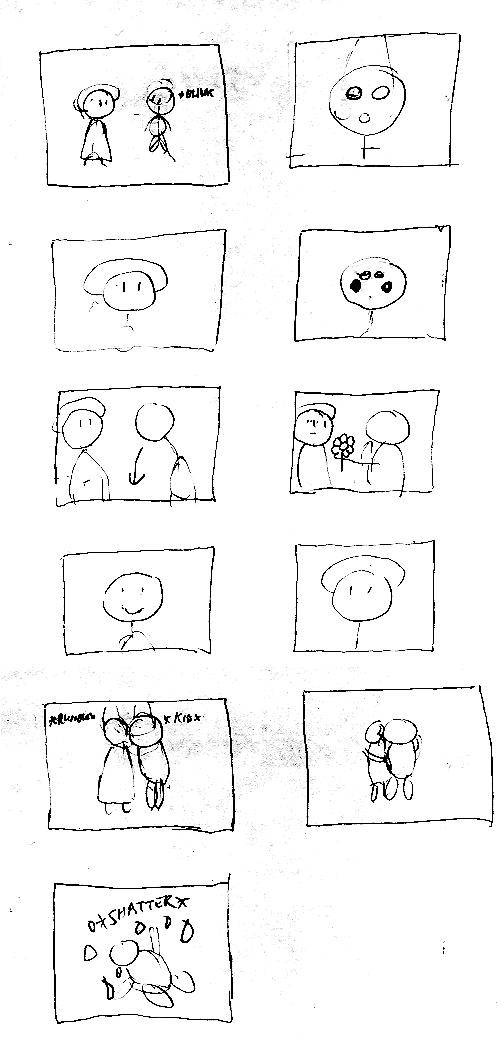
My final animation doesn't follow it exactly, but it did provide a useful guide, especially during motion capture.
Modeling
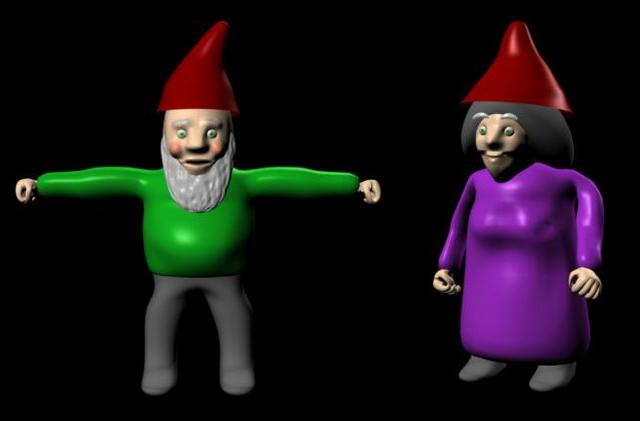
The male gnome is made up of several parts. The body and arms were
constructed from a cylindrical polygon, whose edges were pushed, pulled, and
extrude to construct an arm and the stomach. This shape was then mirrored
to construct the other arm and make the shape symmetrical. The legs and
feet were constructed from a subdivision surface, with the legs extruded out
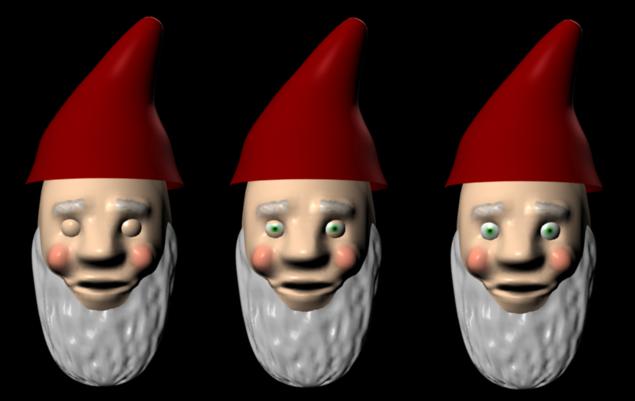
from a cube shape. The head was constructed using a nurbs sphere, using
the sculpt tool to push and pull control vertices. The beard is simply a
sculpted squished nurbs sphere. To construct a texture for the face, I
used the 3d paint tool.The female gnome was made by copying the male gnome model and then pushing the face inward and stretching the shirt into a dress. Hair was added using a deformed nurbs sphere.
 For the background, creating the grass, flowers, and tress was all done using
the PaintEffect tool in Maya. To animate them so that the appear to be
blowing in the wind, I setup the force attributes on these painted strokes.
For the background, creating the grass, flowers, and tress was all done using
the PaintEffect tool in Maya. To animate them so that the appear to be
blowing in the wind, I setup the force attributes on these painted strokes.The backdrop sky was constructed using an "EnvMap" texture on the camera's image plane. This provided a blue sky along with a green floor for areas where the Paint Effects grass strands weren't thick enough to fully cover the area.
Motion Capture
As my animation concentrated on subtle movement, I decided to use motion capture. Though it took a while to setup, actually capturing the animation wasn't too difficult. I did have some problems with cameras not capturing points on the motion capture suit, the skeleton to shake. With some slight adjustments to the position of points on the suit, I was able to get it to work properly. Thanks to Alex Kolliopoulos for providing me much help in using the Vicon system to capture my animation. Take a look here for his mocap tutorial.To import the animation into Maya, I made a script to construct the skeleton and its motion. It contains functions which when called, prompt the user for a Vicon V-file and then uses it to construct a skeleton with keyed motion. The script is based on the script Alex created, but unlike his copies the keyframes from the locator objects to the skeleton instead connecting them. This makes it much easier to work with since directly connecting the locators means that any tweaks to the motion must occur at the locators, not the skeleton. This script is also able to import multiple animation into an already constructed skeleton.
To use this script, you must first have the V-file import plugin installed. Call the 'importVSkeletonAndMotion' to prompt the user for a V-file to construct the skeleton and motion keys. To import motions into an already constructed skeleton, select it and call 'importVMotion'. Note that motions are inserted at the current time, so it is important that the timeline is set where you want the motion captured animation to start.
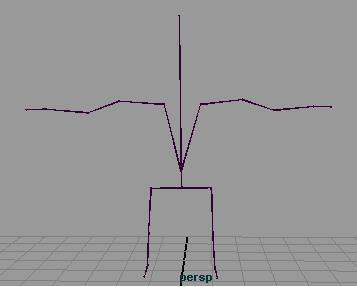
Once the skeleton was imported into Maya, the bone positions were set to fit my gnome model. I found that although the gnome shape is much different then the shape of myself, the resulting motions still looked reasonably good, with only a small amount of sliding being visible. I did have some trouble with joints being twisted, which I believe may have been due either to problems with the motion captured data or the positions of the bones.
To make working with the motion captured data easier, I simplified the keyframe curves. In areas where I modified the motion of some joints by hand, I would sometimes copy sections of keys from a set of other joints at another part of the animation to go along with my manually created keys. By combining manually created keys on some joints with motion captured keys on the other, I was able to construct natural looking movements for motions I didn't capture directly.
Physical Animation
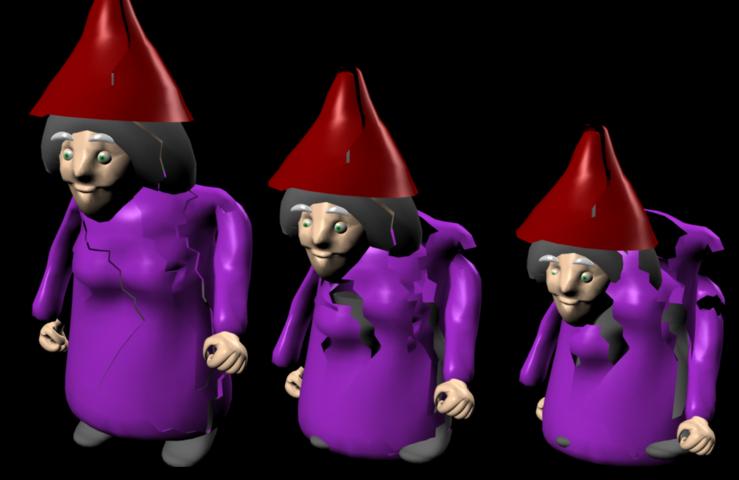
The female gnome was made into an active rigid body, to allow it to move realistically when it is interacted with. Since there were times I wanted the male gnome to be able to pass through the female gnome, I decided to use an invisible 'pusher' object to actually interact with her. Unfortunately, I found properly setting up all this to be much more tedious than it would have been to keyframe it.To shatter the female gnome, I constructed a copy of the gnome and then applied the dynamic's 'shatter' effect to various pieces of her. To make the shatter effect occur at a particular time, I had to keyframe the 'ignore' and 'visible' attributes of the shattered pieces and the original female gnome appropriately.
Facial Animation
To make various facial expressions, I constructed several blend shapes. The 'smile' and 'eyebrow' shapes were constructed using a cluster deformers. The 'suprised' shape was constructed my moving and sculpting the CVs till they looked appropriate. To construct a frowning face, I simply blended a negative amount of the 'smile' shape.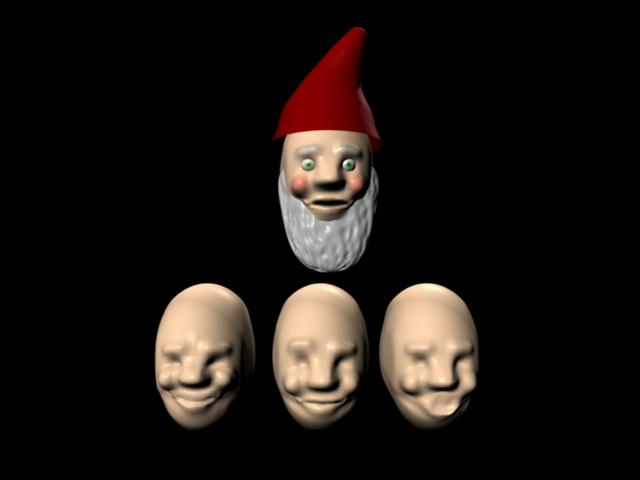
The eyelids were constructed using a nurbs sphere. To control them, I constructed an attribute that goes from 0 to 1 and using expressions based on this attribute set the open and close sweep angles of the eyelids' spheres.